AppFollow
AppFollow sends notifications about app reviews from App Store and Google Play to Usedesk, and you can reply to those reviews directly from Usedesk.
Setting up the integration
1. Sign up and choose a suitable plan in AppFollow.
2. Set up the AppFollow integration with the app stores to enable replying to comments for Android and iOS.
3. In Usedesk, open the Channels section and click Add channel.

4. Select the E-mail section.

5. Enter the channel name, select an external connection, and add your dedicated AppFollow email address in the Outgoing connection field. In the Connection type settings block, fill in the following fields:

5.1. Incoming connection (from the client to Usedesk)
- Connection type. Select External from the dropdown list;
- Email address — required field. Enter the email address used to set up the external connection. You can also use a login instead of an email (without @);
- Email password — required field. Enter the password for the email account used to set up the external connection. For most email services, you need to use an app password instead of the regular email password. You can find instructions on how to obtain an app password in the article: for Google;
- Server (IMAP) — required field. This is the protocol used to access email in Usedesk. For Gmail, Yandex Mail, Mail, and Rambler, Usedesk will fill in this value automatically — just make sure that IMAP access is enabled in your email settings. For example, this is how it is enabled in Gmail:

If Usedesk does not substitute a value and there is no data in your mail settings, an employee of your IT department will tell you this information; - Port (IMAP) — required field. This is the protocol by which the mail will be available in Usedesk. Use port 143 for connection without encryption, 993 for connection with TLS/SSL;
- Encryption — select the type of encryption (ssl, tls, connection without encryption) using the prompt to fill the IMAP port;
5.2. Outgoing connection (from Usedesk to a Client)
- Connection type — in the drop-down list, select "External";
- E-mail address — required field. Enter the email address with which you are setting up an external connection. You can use not only email, but also login (without @);
- E-mail password — required field. Enter the password for the email with which you are setting up an external connection;
- Server (SMTP) — required field. This is protocol by which your mailbox will be available in Usedesk. For most mail clients (for example, Gmail, Yandex.Mail, Rambler, Mail) Usedesk will substitute value automatically. If Usedesk does not substitute a value and there is no data in your mail settings, an employee of your IT department will tell you this information;
- Port (SMTP) — required field. This is the protocol by which the mail will be available in Usedesk. Use port 25 or 587 for connection without encryption, 465 for connection with TLS/SSL;
- Encryption — select the type of encryption (ssl, tls, connection without encryption) using the prompt to fill the IMAP port;
- From name — specify the name of the company, user, or channel on which the messages will be sent to the client;
- From e-mail — the sender's e-mail that customers will see when they receive a letter from you. Fill it out if you want it to differ from the one used when connecting. You also need to fill in the field if you specified a login, not an e-mail, in the «Email address» field of the «Incoming connection» block.
After making all the changes, click "Save".
5.3. Е If you have auto-replies configured in your rules, add this channel to the exceptions in the All conditions section so that auto-replies are never sent through this channel.

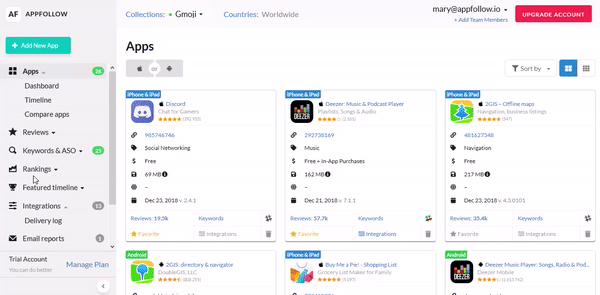
6. Open an application page in AppFollow and select the Integrations section;
7. Click on "Add New Integration";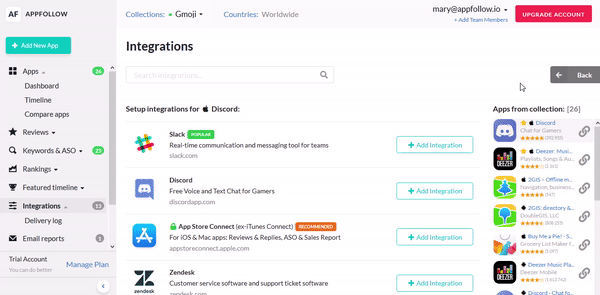
8. In Usedesk, copy the e-mail address from the "Incoming connection" field;

9. Paste the copied e-mail address into a pop-up window in your AppFollow account (the "Usedesk e-mail" field) and select which reviews you want to receive (check the number of asterisks) and click "Add integration";

Click Save. Done — the integration is connected!
Send a test review to check that the integration is working correctly.